Simple DIY handprint heart card
Homemade card for multiple occasions
Making a Valentine’s Day card is one of the yearly traditions many kids do in school.
DIY cards are a great way to add a personal touch to any gift.
This is a super quick and easy tutorial for a DIY valentines card you can craft together with your baby or toddler.
Besides Valentine’s Day this card is also great for Father’s Day and Mother’s Day.
The hand prints add a personal touch that will make everyone happy that get’s this cute card gifted.
There are affiliate links in this post, meaning, at no additional cost to you, I will be compensated if you click through and take action. For full disclosure click here.
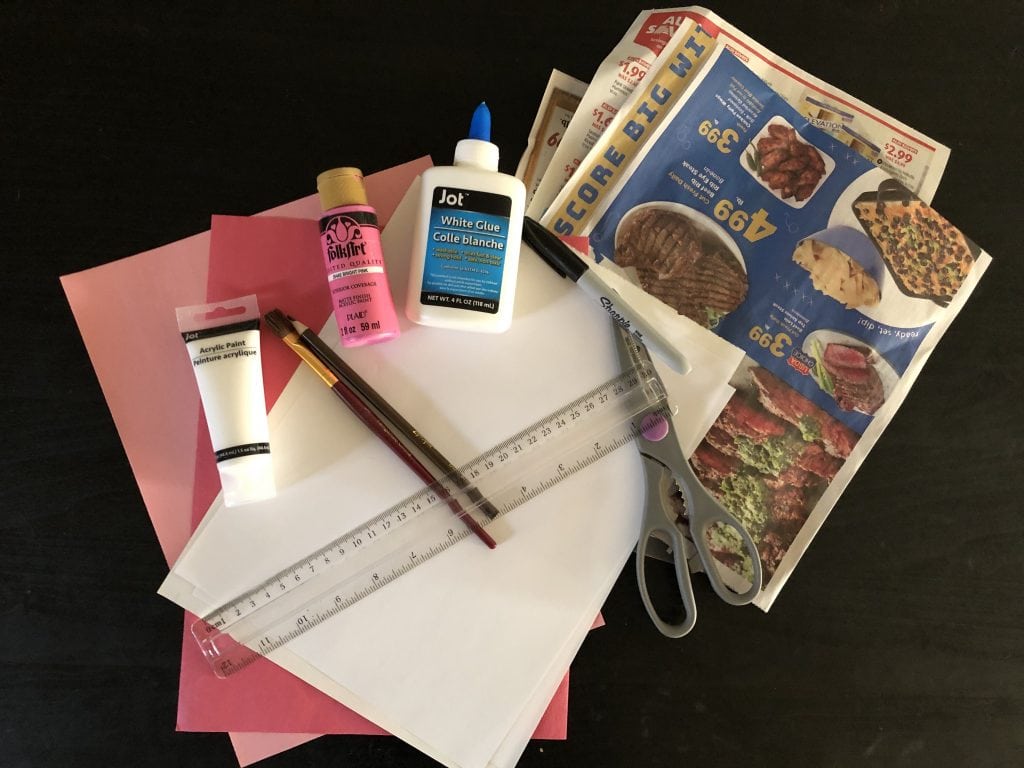
1. Gather your supplies for the handprint heart card
You need:
- Old newspaper
- Cardstock in different colors
- Glue
- Paint (I used acrylic paint)
- Pencil
- Brush
- Printing paper
- Ruler
- Scissors
- Sharpie

2. Get started
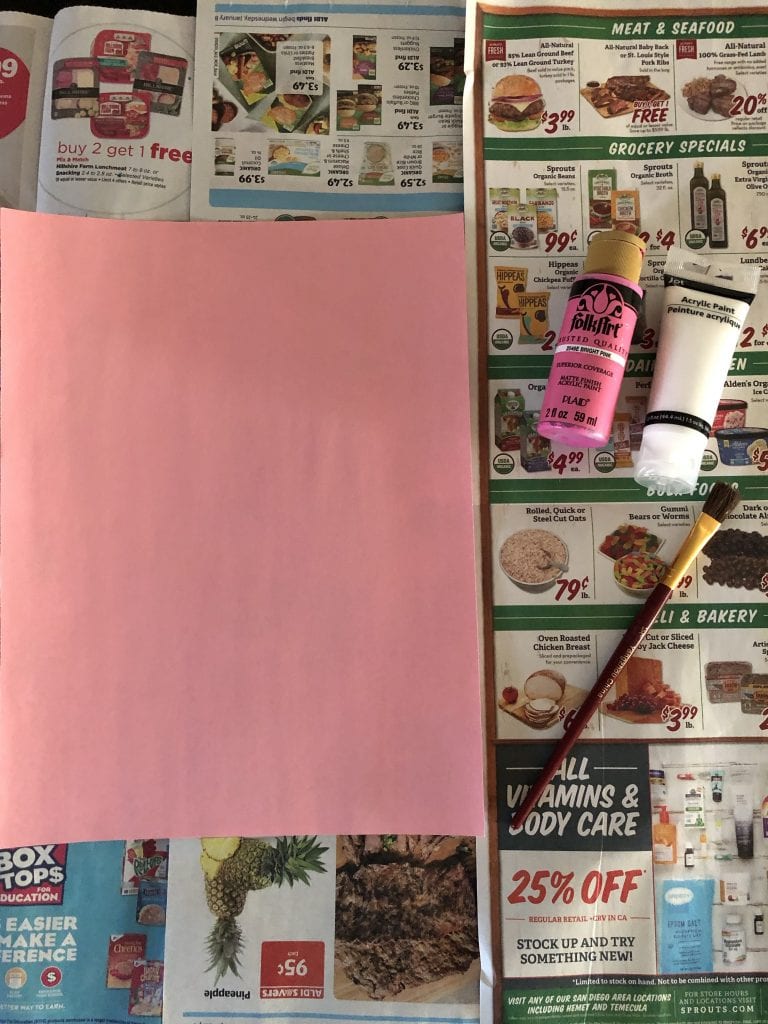
Cover your crafting area with old newspaper so you don’t get paint or glue on your table.
Chose the colored paper and paint color you want to use.

Fold the cardstock in half.
This will be the size of your card.
Use the ruler to make sure it’s the same size and cut additional cardstock off if needed.

3. Paint
Now this is the tricky part. It will be easier with a baby than a squirmy toddler.
You can use hands or feet.
Cover one hand or foot with paint.
Use lots of paint to make sure you get enough on the paper.
Once you got the hand or footprint cover the other hand or foot in paint and do the same.
It should be in a heart shape.
Once you’re done make sure to wash your baby or toddlers hands very good to get all the paint off.
The print should be on the colored cardstock you want on the inside of the card.

Use the printer paper to trace the heart around the print.

Do you want to craft more?
– Mother’s Day craft ideas for kids
– July 4th Tealight holder from yogurt glasses
– Cute thanksgiving decoration
– DIY Princess costume
– DIY easter projects
– Valentine’s Day printable Cards
4. Cut
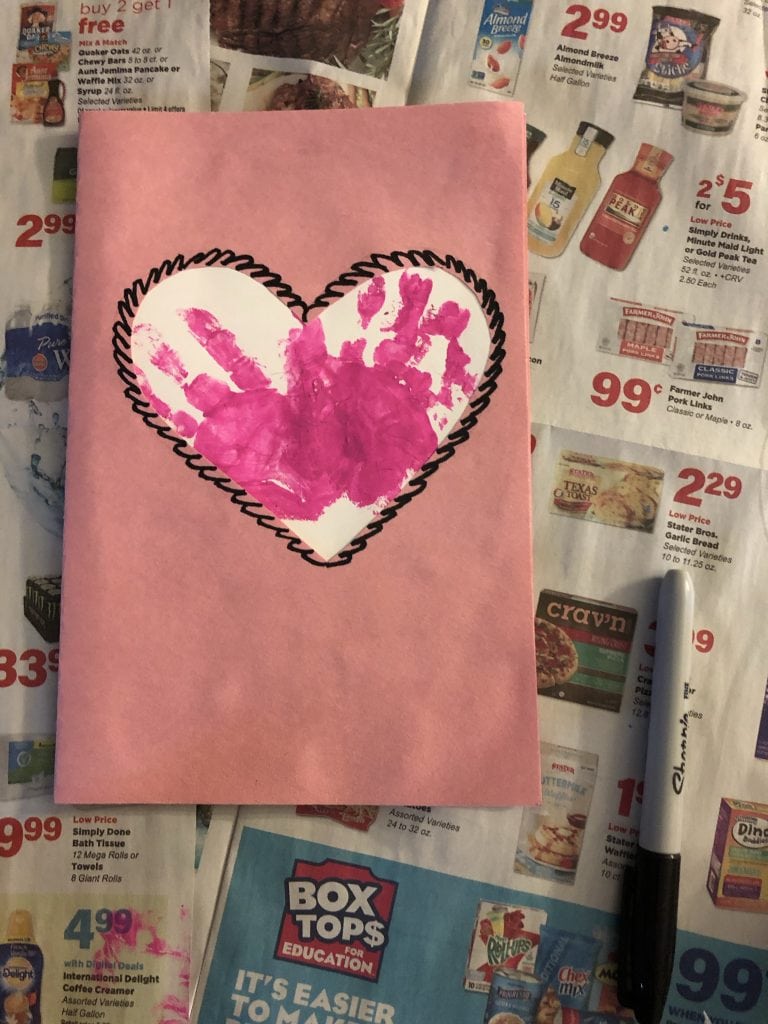
Cut the heart shape from the printer paper and lay it on the cardstock that is used for the outside of the card.
Trace with a pencil and cut it out of the cardstock.

5. Glue the valentines card together
Once everything is cut out you can glue it together. Put the card stock with the print on it on the inside.
Cover the card stock in glue but don’t use too much or it will be all wobbly.
Unfortunately painting the glue on with the brush wasn’t the best idea as you can see.

Let it dry. For a flat card place it under a heavy book until fully dry.

6. Be creative
Now you can decorate the card however you want to.
Use glitter, paint on it or simply use a sharpie.
You could also let your toddler color on the card.

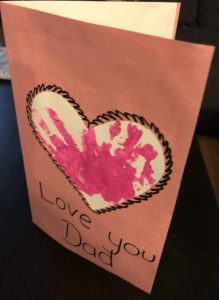
Write a cute quote on the inside of the card with a sharpie. Here are some good examples.

7. Done
Now you just have to wait for Valentines Day to give the new mom or dad your adorable DIY card.
Find more DIY projects in our DIY section.
Do you need ways to keep your kid entertained while working from home? Get fun worksheets, coloring pages and more for free when you subscribe to my emails.
And find your tribe of like-minded parents in our Facebook group.


Love how cute and simple this is!
That’s cute!